Integrate ShinyStat with Looker Studio (Google Data Studio)

Guide for:

When you want to use data collected ShinyStat and mix it with other data in Looker Studio (Google Data Studio), you need to integrate one product with another. The integration uses a community connector for Looker Studio and is easy to set up. After the integration is complete, you can comfortably build reports and dashboards in Looker Studio.

To integrate with Looker Studio, follow these steps:

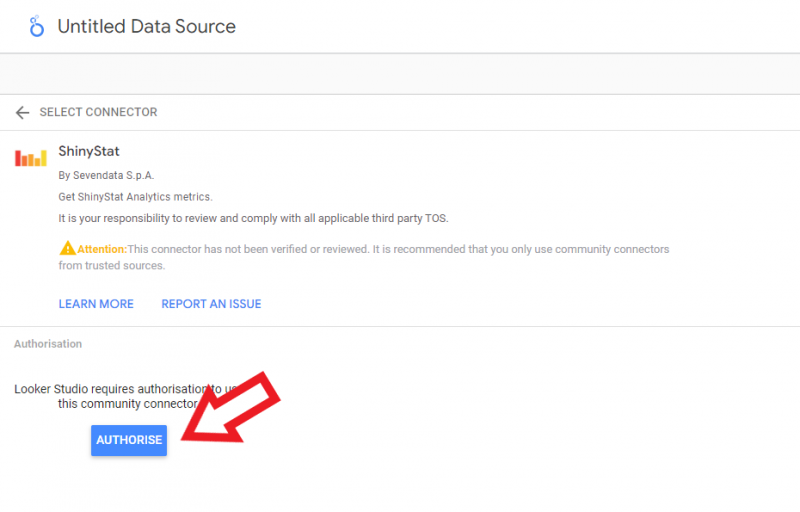
  1. Open our data connector (called ShinyStat) for Looker Studio.

    Note:

    • Our connector hasn’t been verified yet by Google, but you can use it safely.
  2. Name your data source.
  3. Click Authorize.


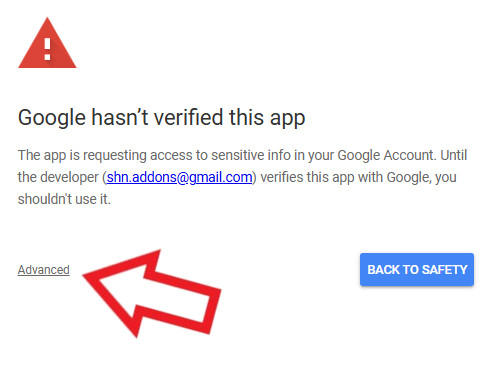
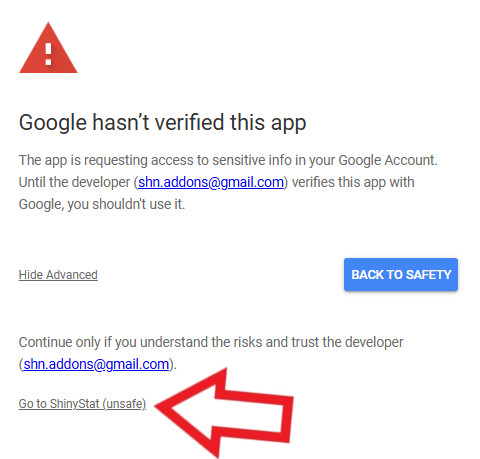
  4. Select "Advanced" and then "Go to ShinyStat (unsafe)"


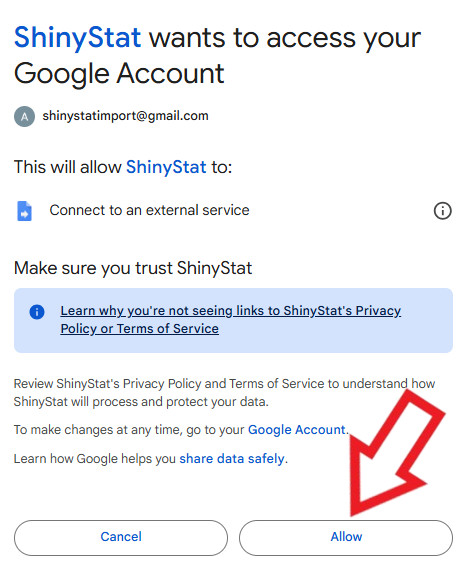
  5. Click Allow on the confirmation screen.

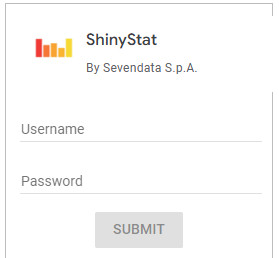
  6. Insert your ShinyStat username and password, then click Submit 


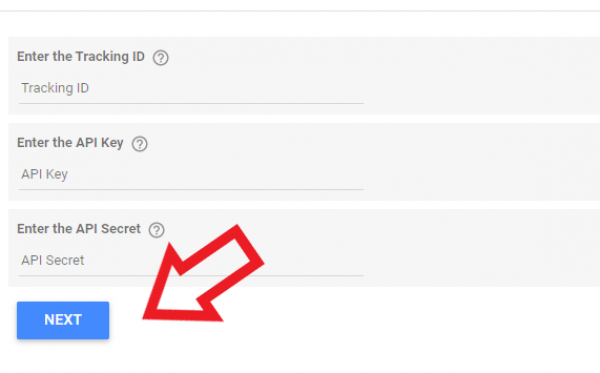
  7. In Tracking ID, enter your ShinyStat Tracking ID.


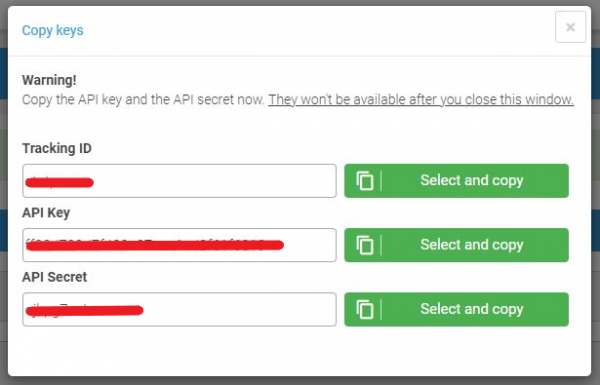
    Tip: You can obtain your Tracking ID, API key, and API secret in the ShinyStat dashboard > Account management > Settings > Api Key. You must add a new key and copy/paste the generated values.


  8. Enter your API Key and click OK.

  9. Enter your API secret and click OK.

  10. Click Next.
  11. Click Connect.
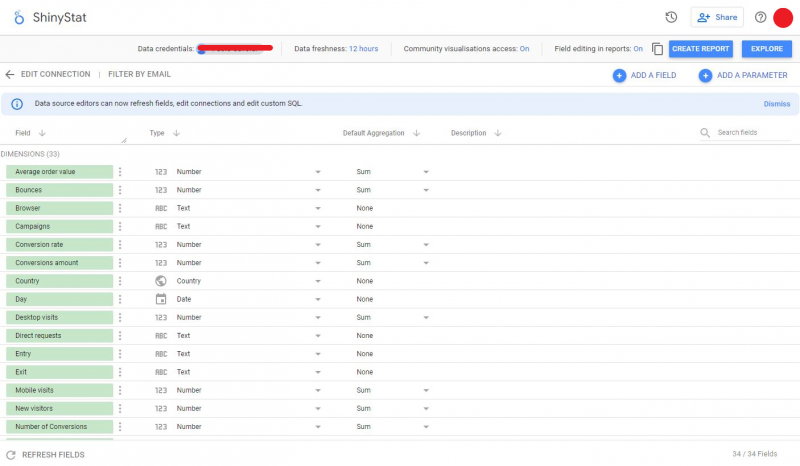
  12. Now your ShinyStat account is connected to Looker Studio. You can see a list of metrics and dimensions from ShinyStat that you can use to create reports and dashboards.


    Note: If you see data differences between ShinyStat and Looker Studio, it may be because you used some transformations in Looker Studio. These transformations may aggregate data differently than ShinyStat, hence the differences.

    Tip: You can create your own calculated fields and calculated parameters in Looker Studio. You can also turn on or off community visualizations.

Back to Help

Looker Studio (Google Data Studio) integration